debt, Family, Food, money, Stay at Home Mom, Uncategorized, Women, workout

Let’s talk Mayo

I went through a period of time where I was grossed out my mayo (mayonnaise). I literally wanted to throw a sandwich at a lady who nicely bought me a sandwich with mayo on it. Just because I hated mayo so much. I know….what I jerk I was for thinking it. I do not think that way these days and would kindly accept it now. She didn’t know. Time changes people right? Yes. Well mayo has a bad reputation, the old styles of mayo that is. I was grossed out by my weight gain (in my early 20’s) that I went to the extreme on dieting. No gluten(That was the worst), no meat (terrible), no junk foods and drinking diet tea that is very unhealthy. So you could imagine what it would have been like to add mayo to anything. Yuck.

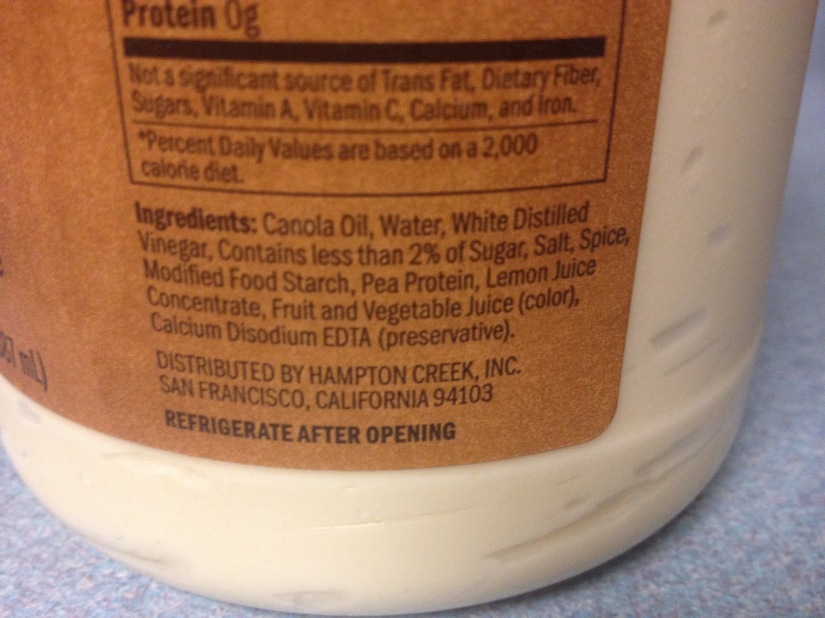
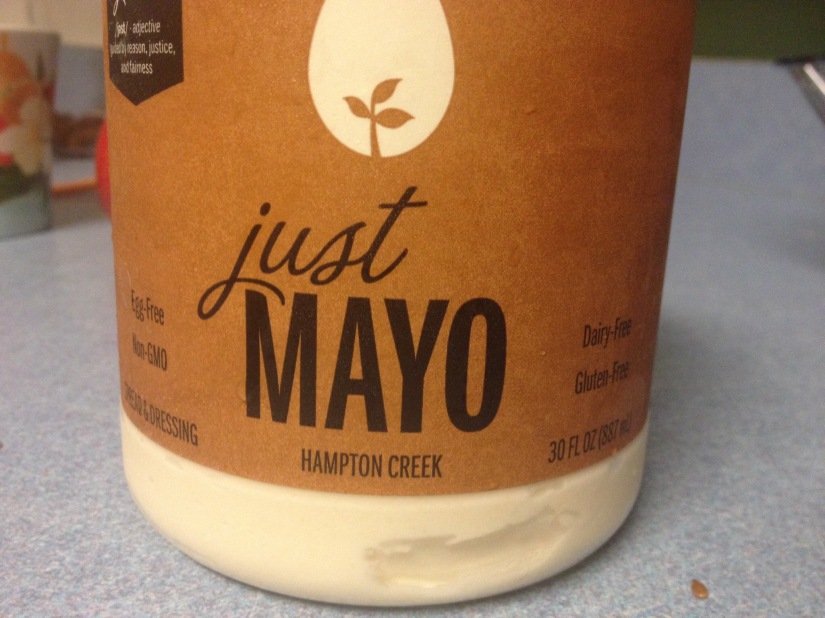
Fast forward to better eating habits. I started eating vegenaise which tastes good but it is hard to find. I had been eating that brand for many years. When we moved to Virginia I wanted to find it, so I looked everywhere over here. I couldn’t find it so I was on the hunt to find a better for you mayo. Well I found it and wanted to share. The brand I found is Just mayo. Truly delicious and better for you.  It even tastes better than the vegenaise brand I used to get. Yes I could go with the trend of using avocado as my mayo, but sometimes I just don’t want to use avocado for everything. After all, avocado is HELLA EXPENSIVE now. I would have to spend $20 a week to add avocado to everything. Moderation is key when it comes to avocados. Especially the price. We are on a beans and rice, rice and beans budget now. Ok, so anyway. This just mayo brand is truly the best price, taste amazing and healthier. My main thing that I look for with eating healthier is Non-GMO and no high fructose syrup. This is a Non-GMO mayo. So if you are looking for a better mayo to use, look no further. Just mayo Is perfect!

I also found an affordable, delicious and healthier bread made by a big brand. It is called Whole Grains with Omega 3 ALA made with Flax, Sunflower and sesame seed. It has no High Fructose Corn Syrup or Artificial colors or flavors.  I haven’t looked at the local store for it yet but have been able to buy it at Costco. It tastes amazing with Just Mayo and healthy shredded chicken. Chicken sandwiched are super yummy, higher protein and you get your great grains included! My husband and toddlers love it also. Its a win for all. Hope you get to try out these two brands and let me know how you like it or if you have tried these two brand yet.


Have a Wonderful day!

Live Happy

Live Healthy

Live Simple

Family, Food, post partum, Stay at Home Mom, Uncategorized

Simple and Delicious Inside out Chicken Enchilada

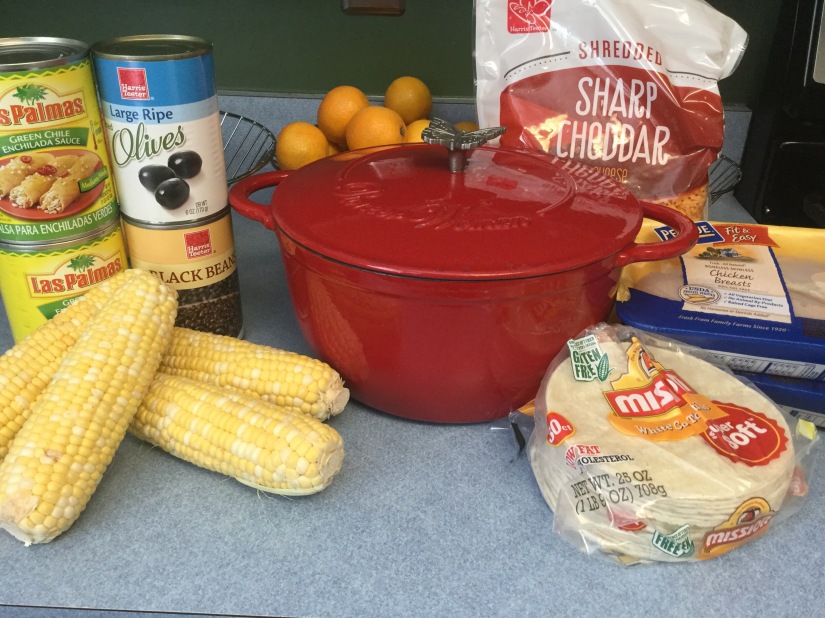
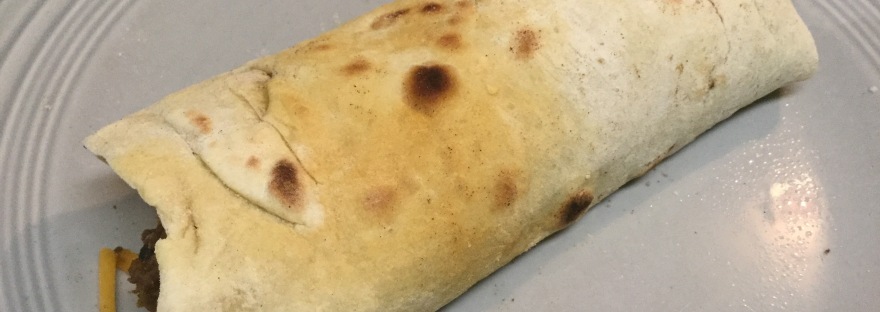
I absolutely love chicken enchiladas. I have been making them for at least half of my life and was probably one of the first things I started cooking. Since I love enchiladas I wanted to make it a bit different. This is a great twist to the usual rolled up chicken enchiladas. And its super simple. You can either use a slower cooker, which I do not have, or you can put it in the oven like I did. I have to say, I am afraid of raw and/or under-cooked chicken so that is why i cooked it longer. I added pictures below of everything.  I hope you get to make this recipe, its truly delicious.


Ingredients:

3 lbs (4 chicken fresh chicken breasts)

2 19oz cans of green Chile enchilada sauce

12 Corn tortillas

2 cups Shredded cheese ( I used Sharp cheddar cheese)

More shredded cheese to add after cooking, if you like

Corn ( I cut the corn off of 4 of our left over corn on the cob)

1 can Black Beans

1 can olives

Sour Cream


Directions:

Preheat oven to 350 degrees.

I used a dutch oven (Pioneer Woman Brand) and put 2 cans of green Chile sauce in with the chicken breasts. Pop it in the preheated oven for 1 1/2 hours. You can always check after the hour to see if the chicken is done. I cooked it longer to make sure it was not under cooked.

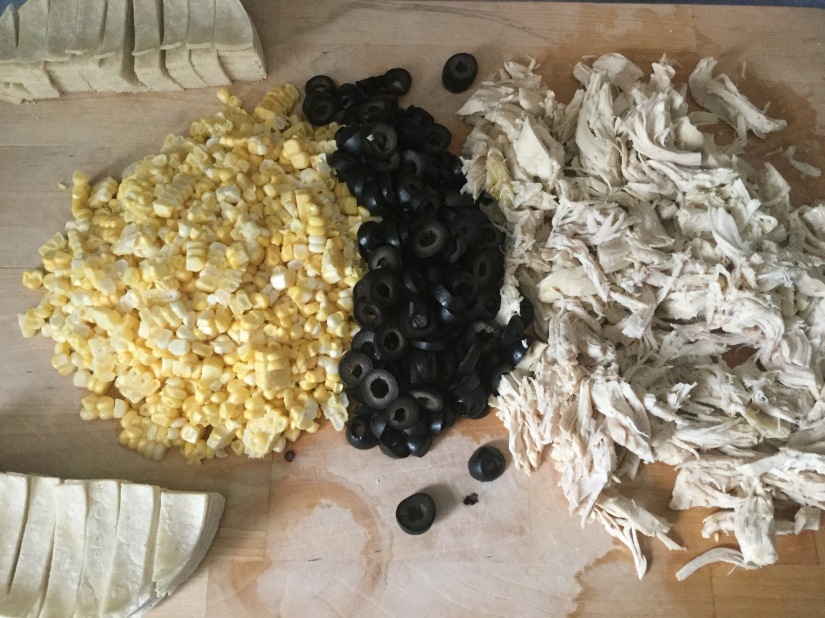
While the chicken is in the oven I prepped the food. Cut the corn off the cob or drain the corn in the can, drain the black beans, cut up olives and cut corn tortillas into whatever shape you like. I stacked them on top of each other and cut them. That’ll save you a bit of time.

Take the cooked chicken out of the oven. Take one chicken breast out at a time and shred the chicken with two forks. Put the shredded chicken back into the green Chile sauce and add all of the other ingredients. Stir ingredients until just mixed. Put it back into the oven and cook for 30 more minutes.

Take out and put in a bowl. Add more cheese if you like and top with sour cream.


Live Simple


Family, Food, post partum, pregnancy, Stay at Home Mom, Uncategorized, Women, workout

Pizza recipe revised and absolutely perfect! 

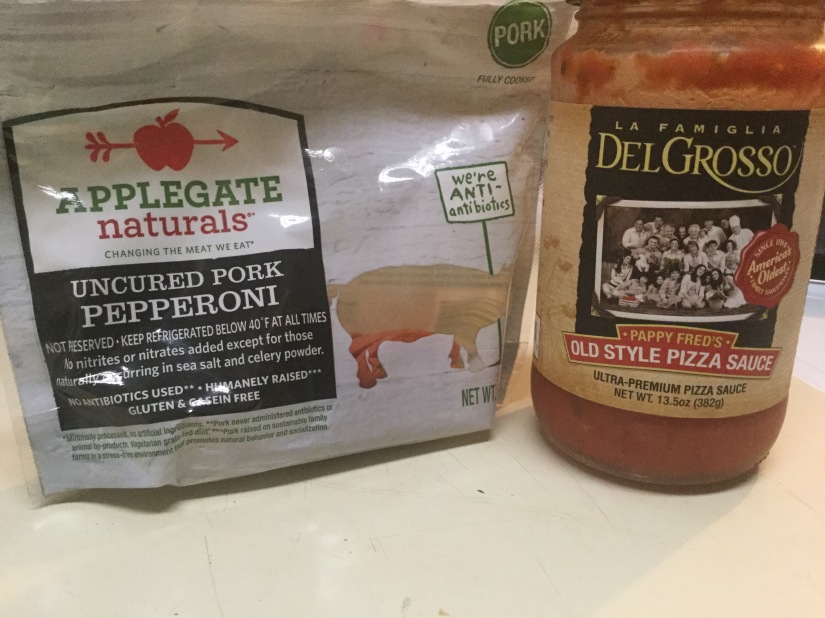
When I first set out to make pizza at home from scratch I found one recipe and kept tweaking it. I now have the best and most delicious recipe that I want to share. I love simple, I love easy and I love good food! I also found a pizza sauce without sugar added and without other junk added. It was maybe a dollar more but gosh, for $2.50 and using only half the bottle is darn cheap. Picture is down below.  Also, I cut out the oil out in the recipe and the crust is spot on amazing! I hope you get to try this recipe out, we absolutely loved it. 

Ingredients:

1 cup warm water

2 1/2 tsp yeast (I only use Fleischmann’s brand)

1/2 tsp raw sugar or regular sugar if that’s all you have 

1 tsp garlic powder

1/2 tsp salt

2 1/2 Cups White whole wheat flour (I only use King Arthur brand)or just regular white flour if that’s all you have

Shredded cheese

Pepperoni or whatever topping you like

Pizza pan
Directions:

Warm you mixing bowl by adding hot water and let it sit for 1 minute. Pour out the water and then start your first ingredient.

Add 1 cup of warm water to mixing bowl, yeast and sugar. Mix the yeast mixture enough to make sure all the ingredients are wet. Let it sit for about 5 minutes until yeast rises. 

Add flour, salt and garlic powder and mix the ingredients with a dough hook until all are mixed together. 

Lightly flour a counter and put dough on it. Let it sit for about 10 minutes. Sometimes I let it sit more if I get sidetracked, which is very easy with kids. Ha! 

Now is the time to preheat your oven to 425 degrees. 

Once the dough is done sitting, roll the dough out into a circle or whatever shape you need for your pan. I make sure the dough is about an inch over on the sides so I can roll it up to make crust. 

Lightly spay your pan with cooking spray.

Put the pizza dough on pan and roll the sides up two times. Make a small crust border. Not sure how else to explain it, ha! 

Set aside and let it sit for about 10 minutes. I know, sounds like a lot of waiting…..but you want a really good tasting homemade pizza right? It also gives me time to clean up the kitchen and tend to my boys. That way I don’t have a mess to clean up after dinner is done. 

After the 10 minutes, add the pizza sauce.

Add the desired amount of cheese

Add your toppings. Our favorite is pepperoni. I use the Applegate pepperoni brand. It’s way healthier than other brand. And they do not have nitrates in it. Thank goodness for that. 

Put in your preheated oven for 20 minutes. Check the pizza to see if it is brown on the edges. If not keep in the oven for 5 more minutes. Our pizza came out perfect in 25 minutes. 

Cut and enjoy! Try not to eat the whole pizza at once. Hehe! 
If you have any questions just ask me! 

Live healthy

Live simple

Family, Food, post partum, Stay at Home Mom, Uncategorized, Women, workout

Family favorite meal (lose weight meal) that is budget friendly and healthy

We all have days when we are not feeling our best. We feel bloated, fat and just down right yucky. When I start feeling this way I make my favorite meal and eat it often. Mainly at dinner time. After eating it for dinner the first night I feel so much better the next day. This is also my key way to losing the baby weight this time around also. I lost the baby weight twice as fast this time around. The first time it took me a bit longer. It tastes really really good too! It is approved by my husband and toddler also. So this is our go to meal. It is simple, easy and budget friendly. We are doing Dave Ramsey’s Snowball so this is a great meal on a lower meal budget.

Ingredients:

1.5 lb Organic Ground Turkey (From Costco, or 1 lb package from the store)

2-3 Cans Black beans

3 Bell Peppers

4 Tbsp Taco Seasoning

Organic tortilla chips

Cast Iron pan. You need to add everything together. A dutch oven would work just fine also.

This meal feeds us 3 for about 4 days.

Directions:

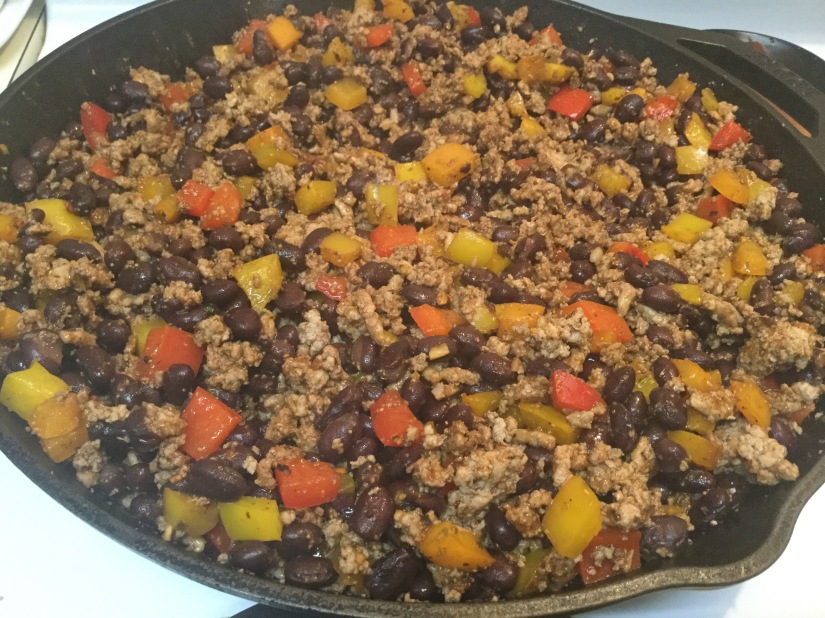
  1. Cook ground turkey on stove and set aside. *picture below

2. While turkey is cooking cut up Bell Peppers *picture below

3. Cook the bell peppers for about 10 minutes on medium heat.

4. Drain 1-2 cans of black beans. Depending on how many cans you put in your recipe. If you put in 3 cans, drain 2 cans. If you put in two cans, drain 1 can. Make sure to put in one can of black beans, not drained, into the recipe.

5. Add the cooked turkey, black beans and taco seasoning to the bell peppers. Mix together and cook for about 5-10 minutes.

Done!


Enjoy! And enjoy often! I hope this concoction makes you feel better as much as it did for me.


Live Healthy

Live Simple


breastfeeding, Christmas, Family, Food, post partum, St Pattys Day, Stay at Home Mom, Uncategorized, Women

Red Velvet Baked Donuts with Cream Cheese Frosting

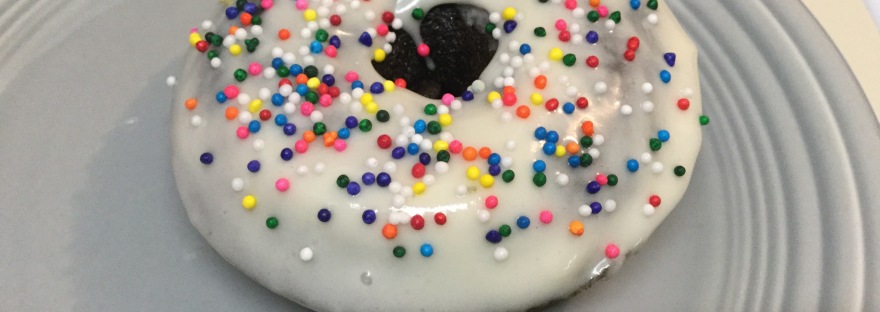
Ok, so I have to get this out of the way. My donuts are not red because the recipe calls for 1 Tbsp of red dye and we had 1/2 Tbsp…..so we used all the dye colors HA! They are green and might do this for St Patrick’s Day coming up.

I found this recipe about 1 minute after my son and I decided to make donuts. They are amazing!!! So good I wanted to eat way more than one at a time. I highly recommend recipe for baked donuts.


Ingredients:

3/4 Cup Granulated Sugar

1 1/2 tsp Unsweetened Cocoa Powder

1/2 tsp Salt

1/2 tsp Baking soda

1 1/4 cup Unbleached all purpose flour

1/2 cup Buttermilk (I used almond milk and vinegar to make mine)

1/2 cup and 2 tsp of vegetable oil

1 egg

1/2 tsp vanilla extract

1/2 tsp vinegar

1 Tbsp red food coloring


Cream Cheese Frosting Ingredients:

1 cup Powdered Sugar

1 oz Cream Cheese

1/2 tsp vanilla extract

1 tsp of almond milk or regular milk


Directions For The Donuts:

  1. Preheat oven to 350 degrees
  2. Spray donut pan with non-stick spray
  3. In a large bowl add flour, baking soda, salt cocoa powder and sugar. Mix and set aside.
  4. In a medium bowl, whisk together; egg, buttermilk, vegetable oil, vanilla, food coloring and vinegar.
  5. Pour the wet ingredients into the dry ingredients and whisk together. Do not over mix but mix enough so you do not have clumps in the batter.
  6. Fill the donut ring, I filled it to the top of the donut mold but not high enough to cover the middle.
  7. Bake for 12 minutes. Take out of the oven and let them cool on a cooling rack for a few minutes.

Directions for the Cream Cheese Frosting:

  1. Combine the Cream Cheese, powdered sugar and vanilla in a bowl. Mix (whisk) until all together.
  2. Add 1 tsp of almond milk or regular milk and mix until creamy. If you need to add more to get the perfect consistency, add a very small amount at a time.

I dipped the cooled off donuts in the frosting until coated on one half of the donut. You can add sprinkles if you like. And oh my goodness….they taste amazing!! Enjoy!!


Live Sweet

Live Simple


Recipe From Homemadehooplah.com


Family, Food, Stay at Home Mom

Brown Rice veggie Sushi

Out of trial and error I have truly found the best brown rice sushi rice recipe. Because I absolutely love to share when I find a good thing I couldn’t help but share this one. Sushi rice is not really “healthy” so I wanted to find a recipe I could make at home with brown rice. The first recipe I used was rated 4 stars so I tried it out. Oh my goodness, gross! It was dry, insanely salty and just all around disgusting. I then tried a different recipe and boy is it yummy!! I made vegetarian sushi for my husband and I last night. I surprised him and he loved it! It is super easy and I hope you get the same yummy result that we had.

Brown Rice Ingredients:

1 2/3 Cup Water

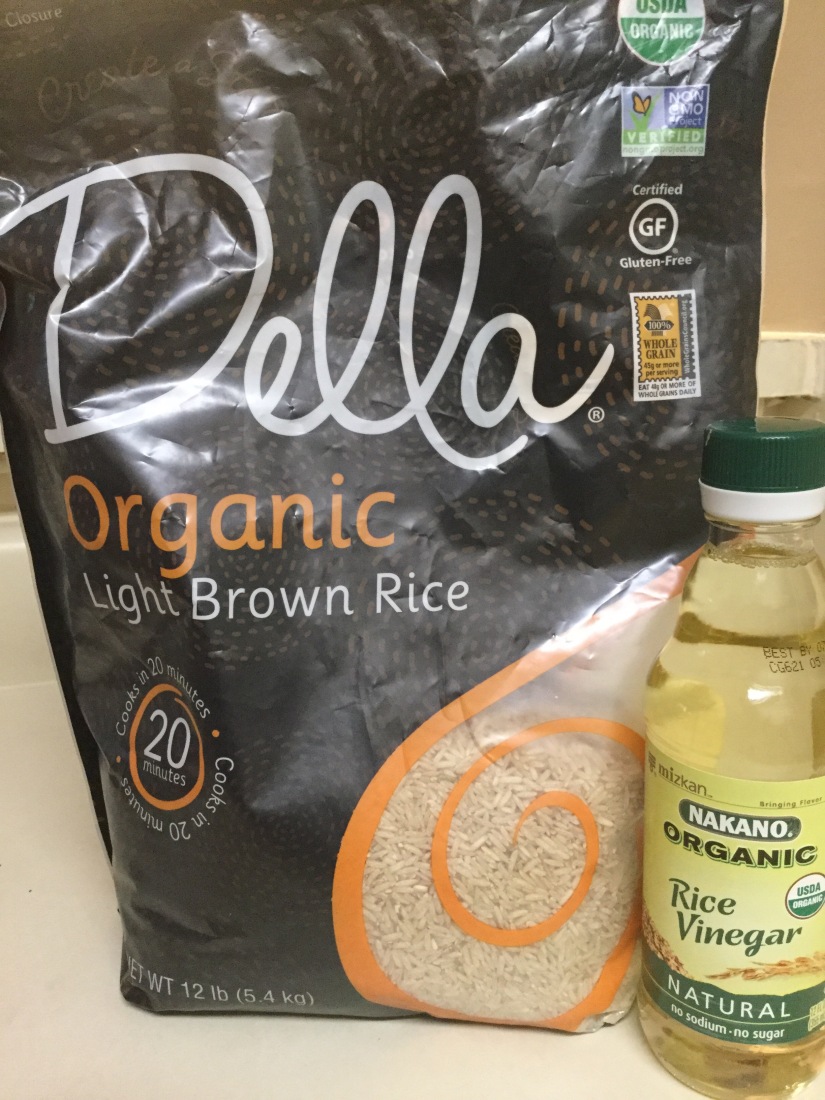
1 Cup Brown Rice (I used Della Organic Light Brown Rice from Costco) *picture below

3 Tbsp Rice Vinegar (I used Nakano Organic Rice Vinegar) *picture below

2 Tbsp Sugar (You could get away with 1 Tbsp)

Instructions:

1.In a medium saucepan (I only have a dutch oven size from Pioneer Woman and it worked great) bring water to a boil then add rice. Stir and lower heat to low and cover. Cook for 25 minutes or until tender.

2.In a small saucepan; add vinegar, sugar and salt. Cook on medium heat until sugar dissolved, about 2 minutes. Make sure to stir occasionally. Put pan aside to cool off a bit.

3.  Once the rice is done cooking slowly and carefully stir in the vinegar mixture making sure to coat all of the rice.

4. Set the rice aside to cool down before making the sushi.


Ingredients I used for making veggie sushi:

1 Medium size Cucumber

1 avocado

Brown Rice Sushi from above recipe

4 Seaweed papers (the pack I bought had 10 papers)

Sushi mat but not required. It is easy to use plastic wrap to put under the seaweed.

You cannot forget Soy Sauce, we only use   Kikkoman soy sauce


Instructions:

  1. Peel the cucumber skin and cut the cucumber in half. Cut the middle part of the cucumber out, it will look like a boat. Then cut the cucumber, lengthwise, into thin strips. Set Aside *picture below
  2. Cut the avocado in half. Take the seed out and take the skin of the avocado. Put the avocado, cut side down, and slice the avocado into thin slices. Set Aside *picture below
  3. Put a piece of plastic wrap (Or sushi mat) down on a clean and dry counter. Put one Seaweed paper down. Wet hands a bit ( Wetting your hands will prevent rice to stick on your hands) and then hand put the rice onto the seaweed. Put a very thin layer of rice on seaweed. Leave about 1 inch of the seaweed on one of the longest side of seaweed free of rice. *picture below. About 1 inch on the opposite side put about 4-5 thin slices of cucumbers. Put about 4 thin slices of avocado on top. *picture below. Slowly roll up the sushi tightly starting on the side with the veggies. Once you are rolled up to the side of the wrap with no rice at the end, wet your finger and wipe the seaweed end and seal together. Set Aside.
  4. Repeat step 3, I was able to make 4 rolls.
  5. Once finished, take a sharp knife and cut the rolls to your desired size. I like my sushi 1 inch thick.
  6. Plate and Enjoy!


I hope I explained it in as much detail as needed. And I hope it is not confusing. If you need clarification on anything just ask! I can try to explain it better.

I hope you enjoy the sushi as much as we did! I love love love this veggie sushi and completely believe it taste like the sushi get from the restaurants. I now do not need to spend a ton of money going out to eat sushi 🙂

*You can use any veggies you want, those two are my absolute favorite! I could eat this daily!


Live Satified

Live Simple

Family, Food, pregnancy, prenatal, Stay at Home Mom, Uncategorized, Women

Homemade Tortilla’s

Making tortillas at home is super easy. I also really love the fact that you know every ingredient that is in them. Takes about 30 minutes from beginning to end so you can make them last minute.


Ingredients:

4 Cups All-Purpose Flour

1 tsp Salt

2 tsp Baking Powder

2 Tbsp softened butter (I used salted)

1 1/2 Cup Water

Directions:

Put flour, salt and baking powder in a bowl and whisk together. Put the softened butter in and whisk together well. Add the water in slowly and mix together. Place onto a lightly floured counter. Knead the dough for a minute or two and then divide into 20 pieces. Roll each piece into a ball.

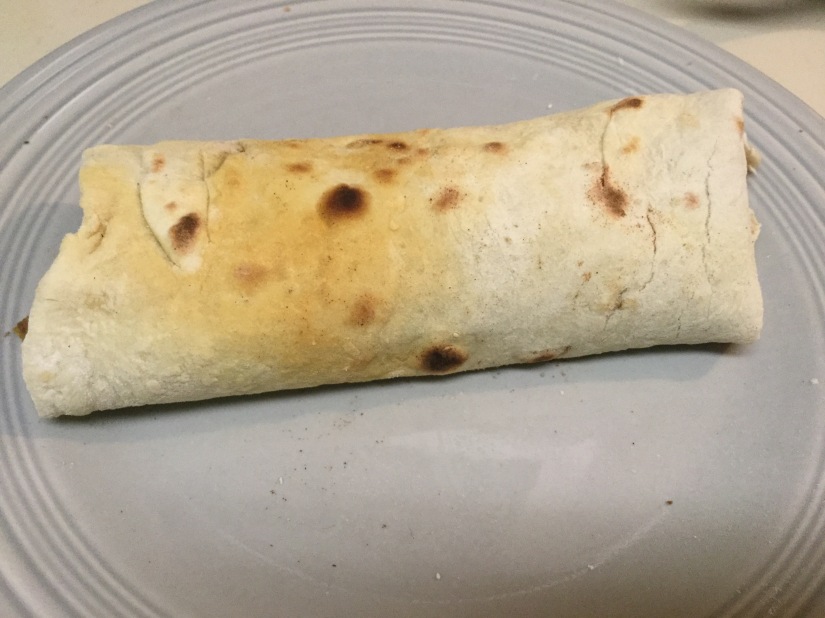
Preheat a large cast iron pan (Or skillet pan) over medium heat. Roll a ball into a thin round tortilla. Place onto the preheated pan and cook until it bubbles, about 1-2 minutes. Flip to the other side and cook for another minute. Place warm tortilla onto a plate covered with parchment paper. I place a dry and clean kitchen towel over the cooked tortillas.

And, enjoy!


Live Homemade

Live Simple


Family, Food, Stay at Home Mom, Uncategorized, Women

Delicious Apple Bread

Oh my goodness this bread is amazing!!! It is not really “healthy” but eating strict is not my forte. Plus, restricting myself from everything is not really healthy to do. Moderation and self control helps me the most. And kicking butt at the gym 🙂

I made it up at the last minute. I really had no intention to try anything other than make sandwich bread. I just thought, hmm I wonder if this would taste good. And bam! This is a type of bread I am going to make every time I make bread. I double this bread recipe and made this apple bread as a “side” bread. Seriously, its that yummy!

Ingredients:

1/4 Cup Almond Milk (or regular milk)

5 tsp Granulated sugar

1 tsp Salt

5 tsp Butter (I used salted butter)

2 1/2 tsp Yeast (I only use fleischmann’s)

1 Cup Warm Water

3 1/2 Cup Flour

Ingredients for the apple bread:

1 Apple (I used Pink Lady apples) pealed, cut into small pieces

Cinnamon

Granulated sugar

softened butter

The bread recipe has to rise for an hour first. Also, cook the apple pieces in a small pan until just cooked (soft). I put enough water in the pan to cover the apple pieces. 

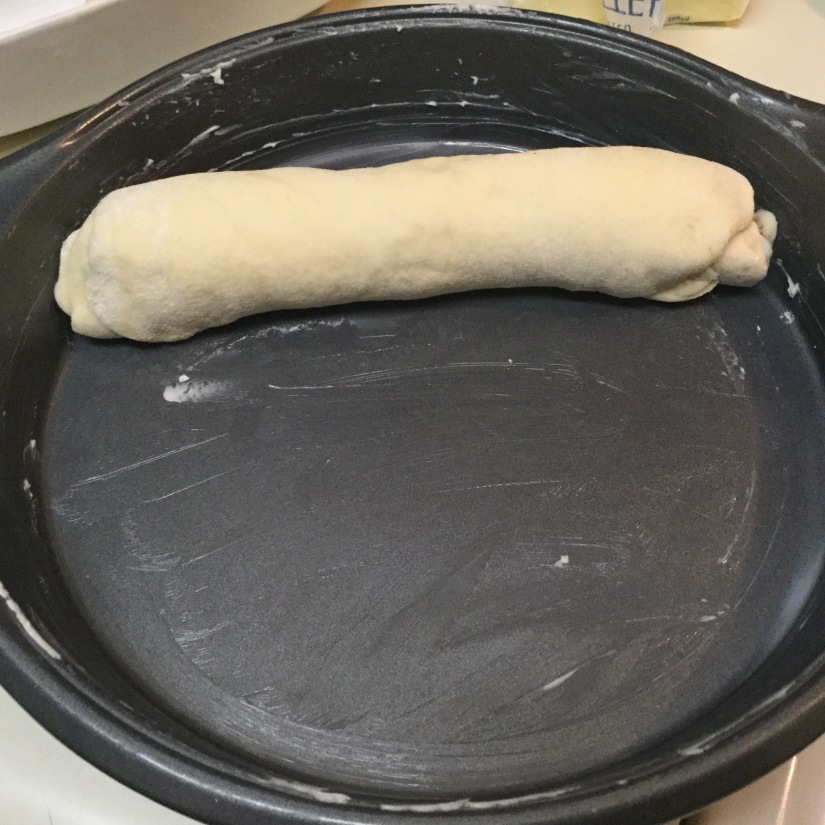
Here is the Recipe for the bread. After I rolled up the bread, I put the bread pan next to the roll and cut the ends off with a sharp knife. Put the perfect fit bread roll into the pan. The two left over ends of the roll I unrolled and flattened into a rectangle shape with a rolling pin. I spread a thin layer of butter on top. Then I sprinkled granulated sugar and cinnamon on top. I had no idea how much to add because this is my first time making it. So I just put as much as I thought would be good. When done with the cinnamon and sugar put 4 small chunks of butter on top. When ready start from longest side and tightly roll up. Pinch the ends together and put into the pan with the seam down. This is what it looks like: Set aside and let it rise with the rest of the bread. Put in the oven and bake for 30 minutes with the sandwich bread. Take out and test the bottom of the pan to see if it is done. I have never had bread that needs to be in longer than the 30 minutes. Once you take it out of the oven take it out of the pan and cool off on the cooling rack.  This bread taste SO good and I hope you try it out.


Have A Wonderful and Amazing Sunday!

Live Simple!

debt, Family, Food, money, Stay at Home Mom, Uncategorized, Women

Sneaky little veggies

Finding different ways to add veggies into our diets is kind of fun. I noticed a few veggies I can sneak into our regular foods and it tastes amazing! Inexpensive and healthy.

I know people are going to recommend to me to take veggie pills and whatever else they sell to try to make some money. But me, I do not want them nor will I try them. I am not closed minded, I just don’t want them.  I really am just a mom trying to get us to love veggies. We should be eating our veggies anyway, right? Ok. So I wanted to share the ways I sneak in our greens.

  1. I make smoothies every morning for our family. I add a lot of greens in this because I feel like it is the best way to start your day. Besides black coffee 🙂
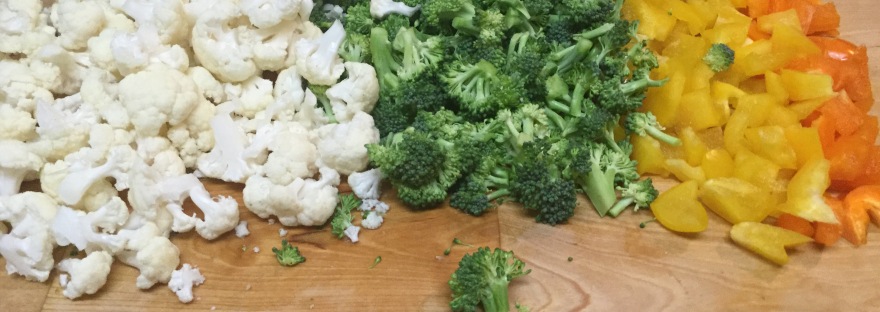
  2. I chop up cauliflower, bell peppers and broccoli into small little pieces. I add them to our weekly pizza. Have you watched the movie Inside Out? I can hear Anger saying, congratulations Hannah, you officially ruined pizza. Ha-ha!! Great movie btw. I also add them to my favorite meal. Black beans and ground turkey with taco seasoning. Oh my goodness this really yummy!
  3. When adding onions into a recipe, grate instead of chopping. It hides it well and our 3 year old never says anything. 

Just two simple ways to add veggies. And, the best part…..our 3 year old absolutely loves it! He eats a lot of it and has not complained about eating his veggies. The key to adding them to your foods is by cutting them into smaller pieces.  I hope this can help someone trying to add veggies into yours and your kids diets. Without pills.


Eat Organic

Live Healthy

Live Simple
Family, Food, Hair, pregnancy, prenatal, Stay at Home Mom, Uncategorized

Avocados

I absolutely love avocados. I prefer avocados on my sandwiches over putting mayo or other spreads. I add them in Smoothies, the obvious mexican foods, and I even put them on pizza. It is such a super fruit that we all should be trying to eat. Some people might not want to eat them because they are fat but it’s a good kind of fat.


I found this online and thought it was funny-Hahaha

Since we do not live in California anymore the cost of avocados are a little higher over here on the east coast. I went to Costco and it was $7.99 for a bag! Since I did not want to waste money I made an effort to finish the bag before they went bad. And, to my surprise I succeeded! If you ever are looking for a way to add more nutrients and trash the butter and mayo I’d try switching to avocados. Of course everything is moderation is the best because too much fat isn’t great either. But, this is a great way to switch out the bad. I absolutely LOVE avocado!!!


Live healthy

Live Simple